Since I first stumbled upon the Meringues Girls on Instagram a few month ago I wanted to try their recipe.
Ever since I can remember I love meringues, oh, oh, my sweet tooth – not good for my body.
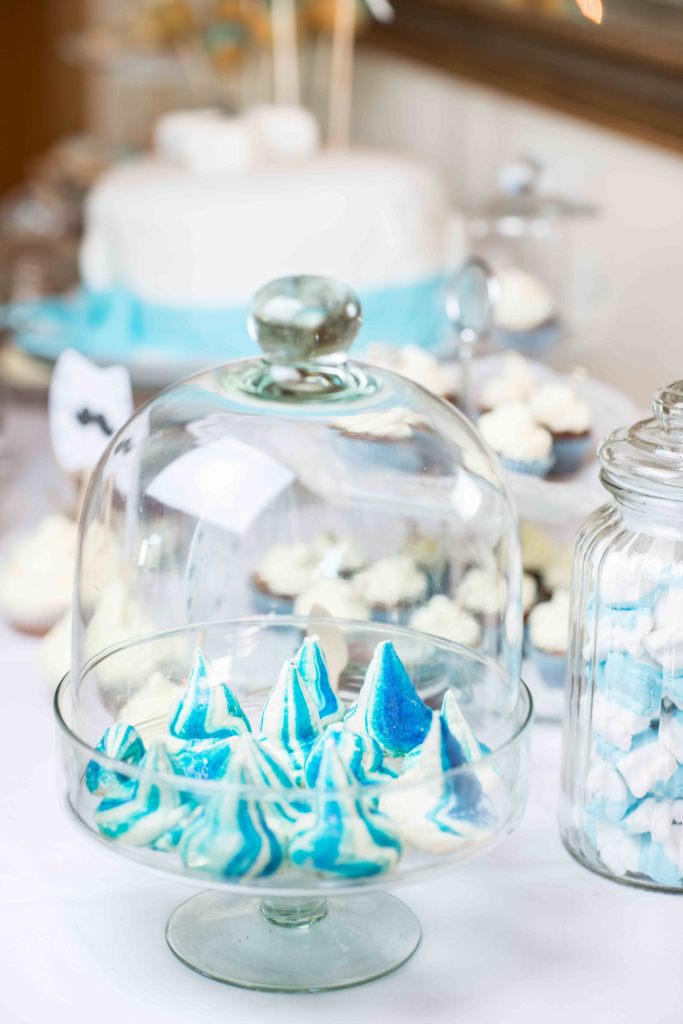
Well, anyhow we decided to make them for Catrin’s Baby Shower as an eycatcher on the sweet candy buffet.
We used the The Meringue Girls’ Basic Meringue Recipe …
”Our meringue to sugar ratio is very easy to remember: It is one part egg whites to two parts sugar. A large egg white weighs 30g, so use 60g of superfine sugar per egg white. But always weigh your whites, as eggs vary in size.”
1/2 BATCH INGREDIENTS 150g superfine sugar (3/4 cup) 75g egg whites (from about 2 1/2 eggs)
1 BATCH INGREDIENTS 300g superfine sugar (1 1/2 cups) 150g egg whites (from about 5 eggs)
DOUBLE BATCH INGREDIENTS 600g superfine sugar (3 cups) 300g egg whites (from about 10 eggs)
PROCEDURE Preheat the oven to 200°C.
Line a rimmed baking sheet with parchment paper, pour in the sugar, and put the baking sheet in the oven for about 5 minutes, until the edges of the sugar are just beginning to melt. Heating the sugar will help it dissolve in the egg whites more quickly and help create a glossy, stable mixture.
Meanwhile, make sure the bowl and whisk attachment of your standing mixer are free from grease. Pour the egg whites into the bowl. Whisk on low speed at first, allow¬ing small bubbles to form, then increase the speed to high and continue whisking until the egg whites form stiff peaks and the bowl can be tipped upside down without the whites falling out. Stop whisking just before the whites take on a cotton-woolly appearance; if they do, they have been over-whisked, and the egg protein has lost some of its elasticity.
By now, the sugar should be ready to take out of the oven.
With the whites stiff and while whisking again at high speed, add one big tablespoonful of hot sugar after another to the bowl ensuring that the whites come back up to stiff peaks after each addition. Don’t worry about small clumps of sugar, but avoid adding large chunks of caramelized sugar from the edges of the baking sheet.
Once you have added the sugar, continue to whisk on high speed for 5 to 7 minutes. Rub a bit of the mixture between your fingers, and if you can still feel gritty sugar, keep whisking at high speed until the sugar has dissolved, the mixture is smooth, and the bowl is a little cooler to the touch. The meringue will continue to thicken up during this stage. You know it is ready to use when it forms a nice smooth, shiny peak on the tip of your upturned finger.
How To Stripe and Pipe Kisses
Meringue kisses are a fun way to shape and color meringues. You can use them in a variety of different desserts, including cake tiers and petits fours. All our meringue kisses are hand-piped and bite-size, and each has its own unique organic shape and color.
Striping
To make striped kisses, whip up a batch of Meringue Girls Mixture (see above recipe) and turn a large disposable piping bag or a reusable one with a 7/8-inch diameter opening inside out. Invert the bag over a jug or bottle so that it holds itself up. Using natural food coloring and a clean paintbrush, paint wide stripes from the tip of your piping bag to half¬way down (about five stripes). Roll the bag so the painted side is the inside, folding the edges over to make a sturdy vessel.
Carefully spoon your meringue mixture into the piping bag, rolling the sides up. You need to pack the meringue mixture in tightly, ensuring there are no air bubbles. Pinch the top of the bag closed, gently pushing the mixture in.
If using a disposable piping bag, with sharp scissors, cut the tip of the bag so that the opening measures 7/8 inch in diameter.
To get the meringue mixture flowing, twist the top of the piping bag to push the meringue to the bottom. Pipe small dollops onto the four corners of your baking sheets (if you are using a full batch of Meringue Girls Mixture, you will need a couple of baking sheets). Line the baking sheets with parchment paper; the meringue dollops will act as glue and stick the paper to the sheets.
You are ready to start piping!
Piping
Hold the piping bag vertically with both hands, securing the twisted top with your dominant hand and placing your other hand halfway down the bag. Use the top hand to apply pressure and the lower hand to control the flow of the meringue. Squeeze the bag to form a kiss with a 2-inch base, and then lift up the bag while releasing some pressure so that the meringue forms a big peak at the top. Space the kisses about 3/4 inch apart. Piping perfect kisses takes practice, so don’t worry if you don’t get it right the first time. One batch of Meringue Girls Mixture will make about 35 kisses.
To bake your kisses, position racks in the upper and lower-third of the oven and preheat your oven to 100°C. Slide the baking sheets into the oven and bake for 2-2 1/2 hours until the kisses are easily lifted off the parchment paper, with their bases intact. Let cool completely on the baking sheets. Stored in an airtight container in a cool, dry place, the kisses will keep for up to 2 weeks.
5 Essential Tips from the Meringue Girls
1. Use clean equipment. Greasy bowls and utensils will deflate the lovely volume you have created. We often wipe out our mixing bowls with lemon juice to make double sure it’s spotless. Grease tends to cling to plastic bowls and spatulas, so use metal or glass ones.
2. Make sure your egg whites are free of yolk and shell — crack and separate them carefully and check the whites before you stark whisking. The best way to get rid of a speck of yolk is to use a bit of shell to fish it out.
3. Cream of tartar stabilizes your whites and makes a stiffer but less glossy mixture; if your whites are not super fresh, add about 1/8 tsp per white before whisking.
4. Vinegar lends a chewiness to meringues. Add 1/2 tsp to your stiff whites for a really mallowy middle.
5. Do not refrigerate. Baked meringues can be covered in plastic wrap or placed in an airtight container and stored in a cool, dry place for up to 2 weeks.
*** recipe from the Meringue Girls
***pictures by CarlettoPhotography

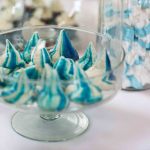


It looks so delicious.
Veil